
Webflow CMS is the world’s first visual content management system for web designers and their clients.
It gives you all the power of a web developer, so you can design and build complex dynamic websites by yourself. And unlike other CMSs, it lets you structure and design content however you’d like—without messing around with template or database code.
It’s web design—without web development.
Webflow CMS overview
While the full video course will give an in-depth walkthrough of all of Webflow CMS's features, it all boils down to just a few steps:
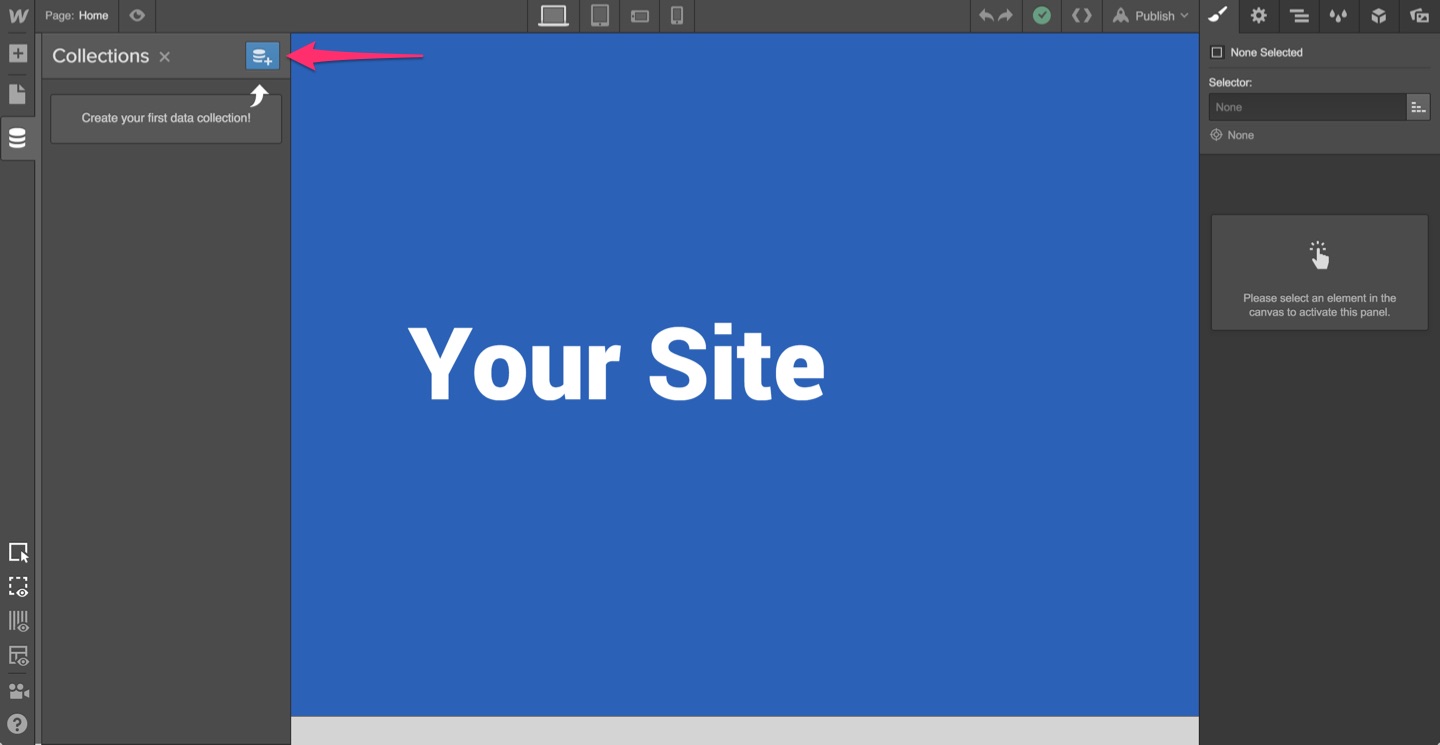
1. Create a Collection
Inside the Designer, open the Collections Panel and click Create Collection.
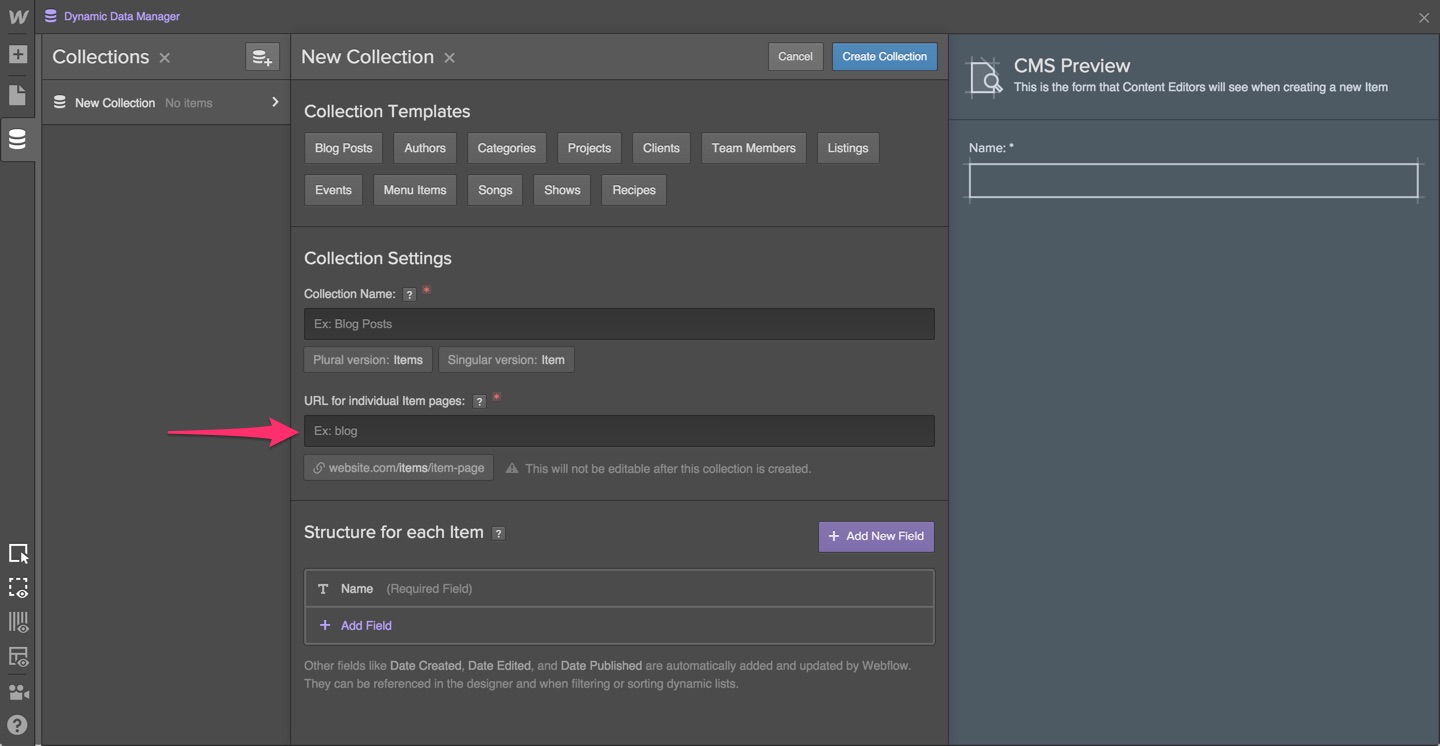
Set the Collection Name to something you can easily identify, such as "Blog."

Set the name of the folder/directory you want the Collection Items to live in.
2. Structure the content in your Collection
Add the fields that define each Item's structure.
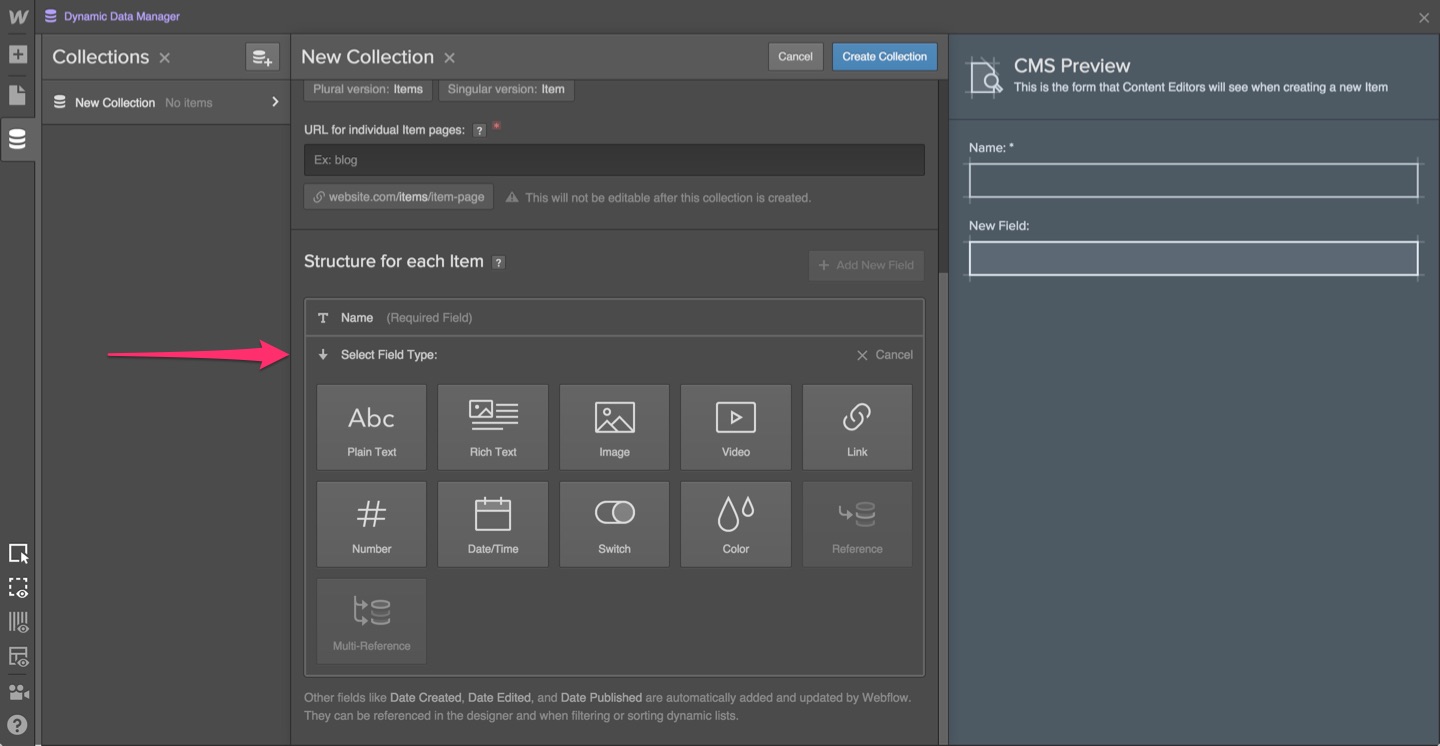
Plain Text: a single or multi-line input field used for basic content.
Rich Text: a multi-line input field that lets people add formatted text, images, and video.
Image: an image upload field for both regular and background images.
Video: a video link field used to embed videos from YouTube and Vimeo.
Link: a URL field where the value can be used as a link destination for buttons, link text, and link blocks.
Number: a single line input field used only for numbers.
Date & Time: a date picker field used to display any combination of month, day, year, and time.
Switch: a yes/no switch used for filtering data that's displayed in your site.
Color: a color picker field used to customize the font, background, or border color of an element.
Option: lets you create a list of options Collaborators can select from when creating or editing a Collection Item.
Reference: a single or multi-reference field used to connect multiple items from different collections.
3. Add content to your Collection
Inside the Collections panel, open a Collection and click New Item.

Fill out the necessary fields and click Create Item.

4. Design your Dynamic Template Page
Once you’ve created the Collection, head to the Pages panel and start designing its Dynamic Template Page. Choose the elements you want to connect to dynamic content and style them any way you wish.
Dynamic Text: In the Settings tab, go to the Dynamic Text Settings section and select the field you wish to get text from.

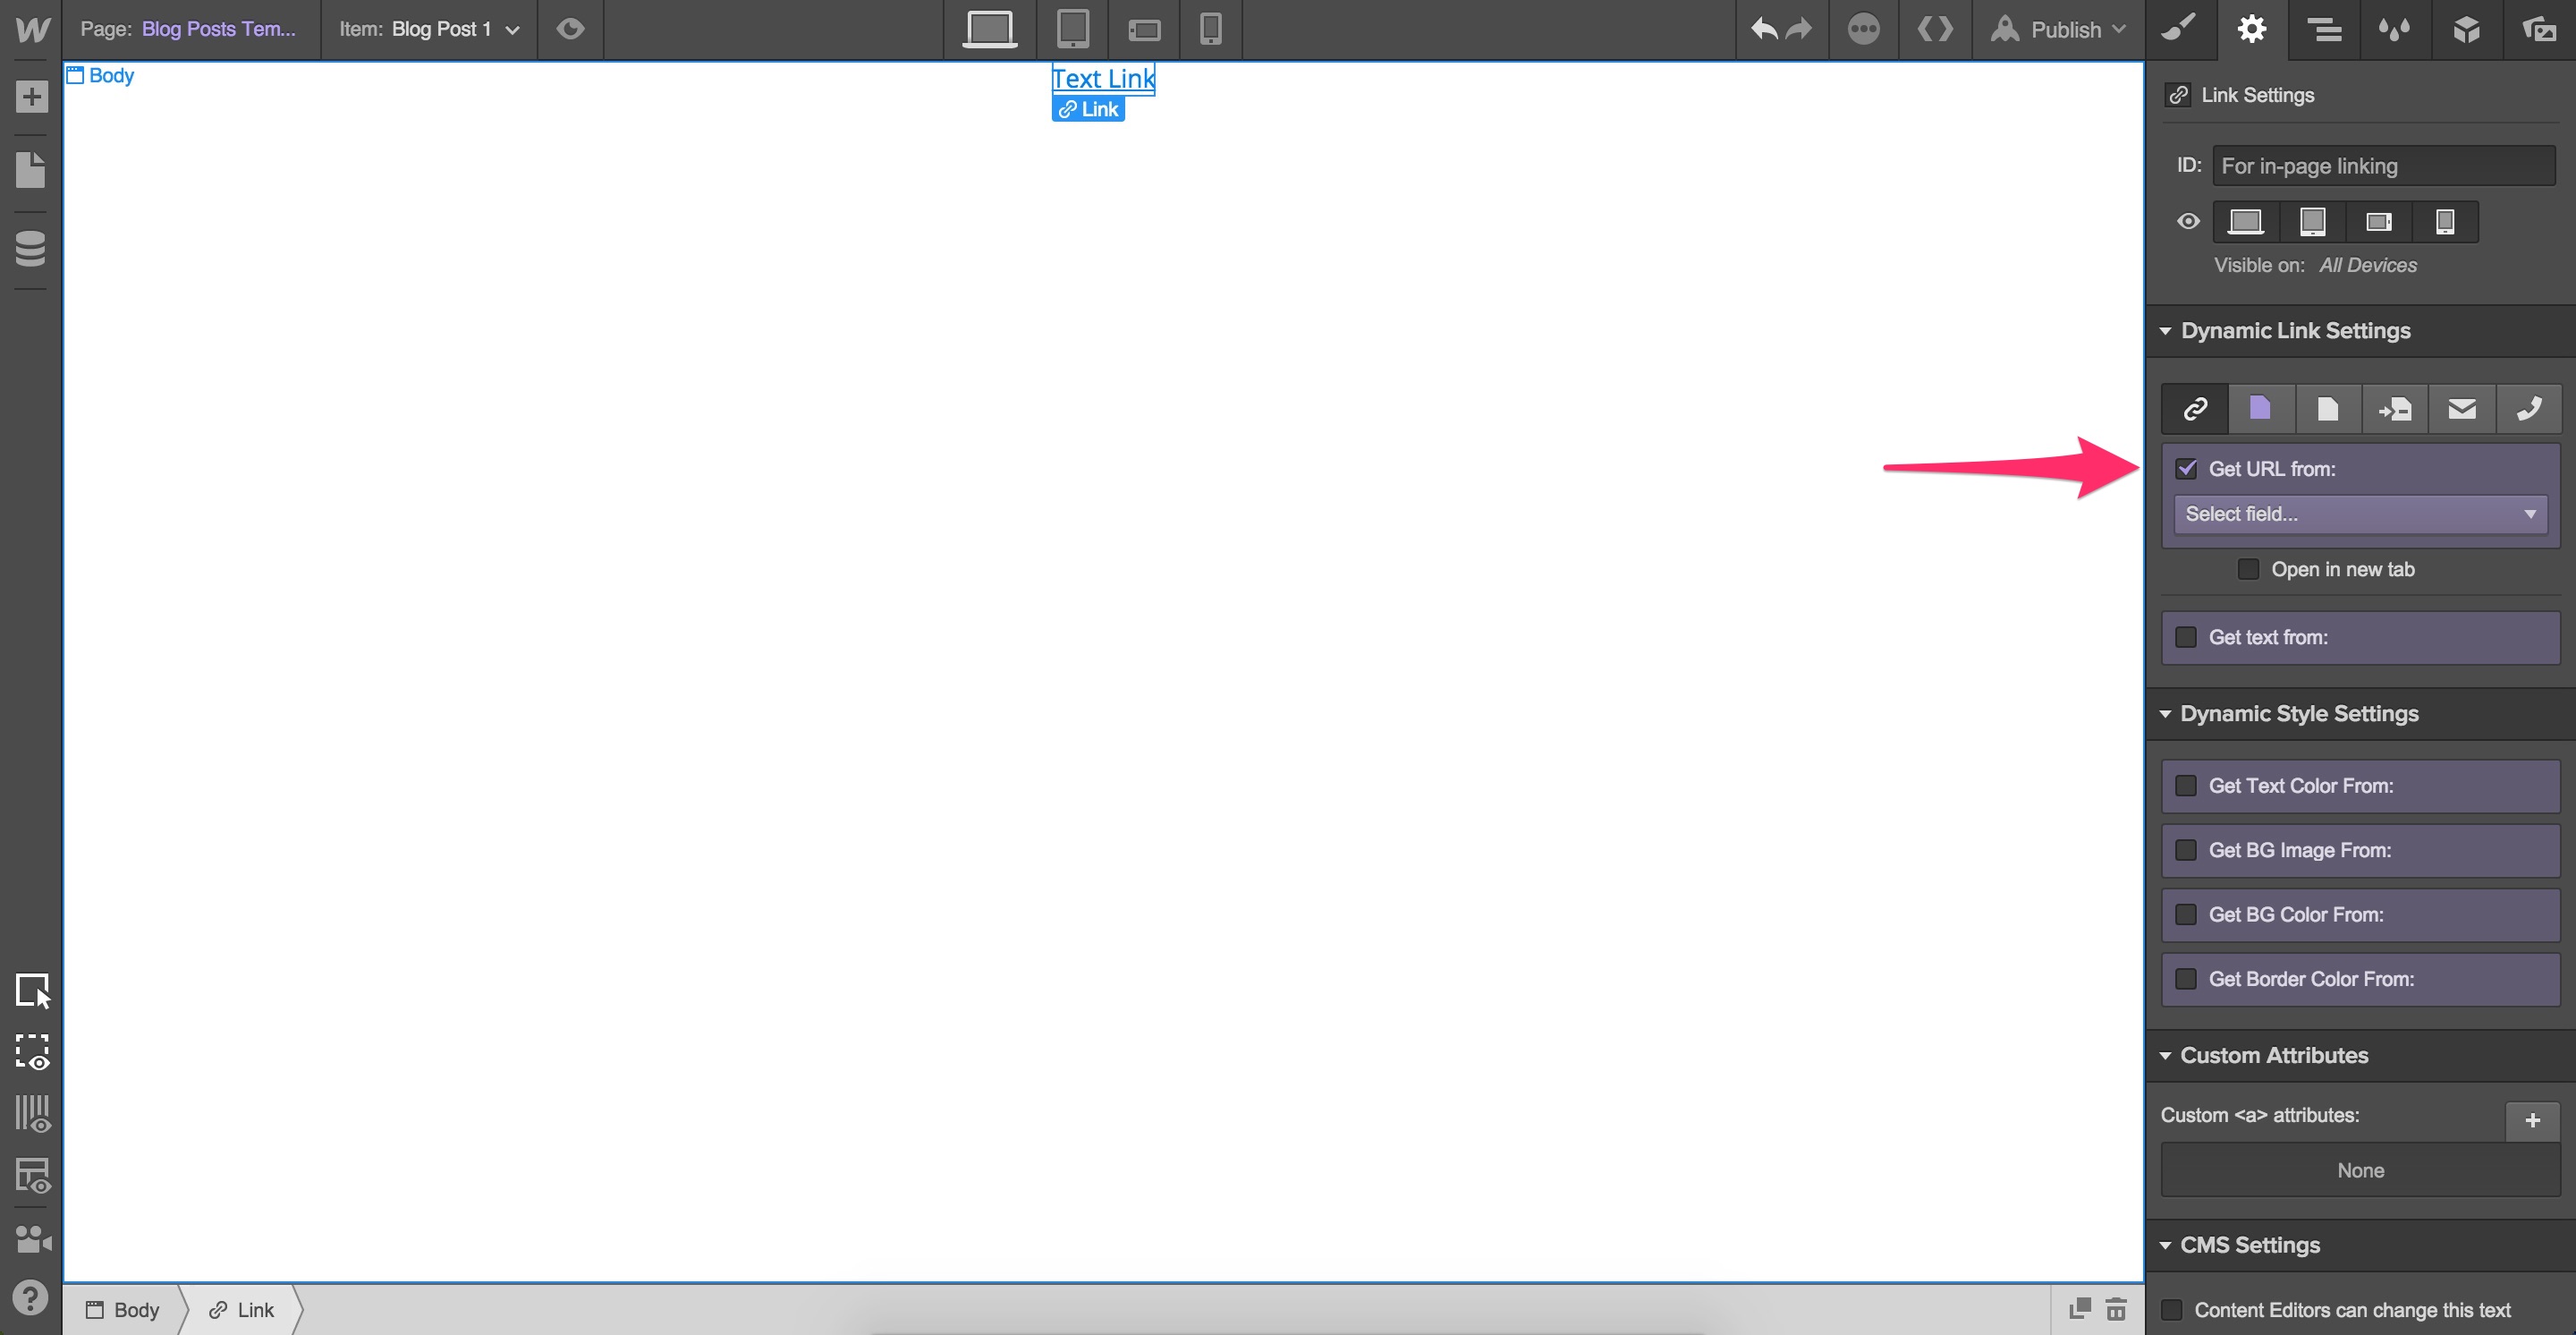
Dynamic Links: From the Settings tab, go to the Dynamic Link Settings module and select the field you wish to get a URL from.
Dynamic Styles: From the Settings tab, go to the Dynamic Text Settings module and select the field you wish to get text from.

5. Manage your Collection content
Content Editors can log in to your site and continue publishing Collection Items using the Editor Panel.
To log in to your site's CMS, add "/?edit" to the end of your site's URL. E.g. "your-site.webflow.io/?edit".
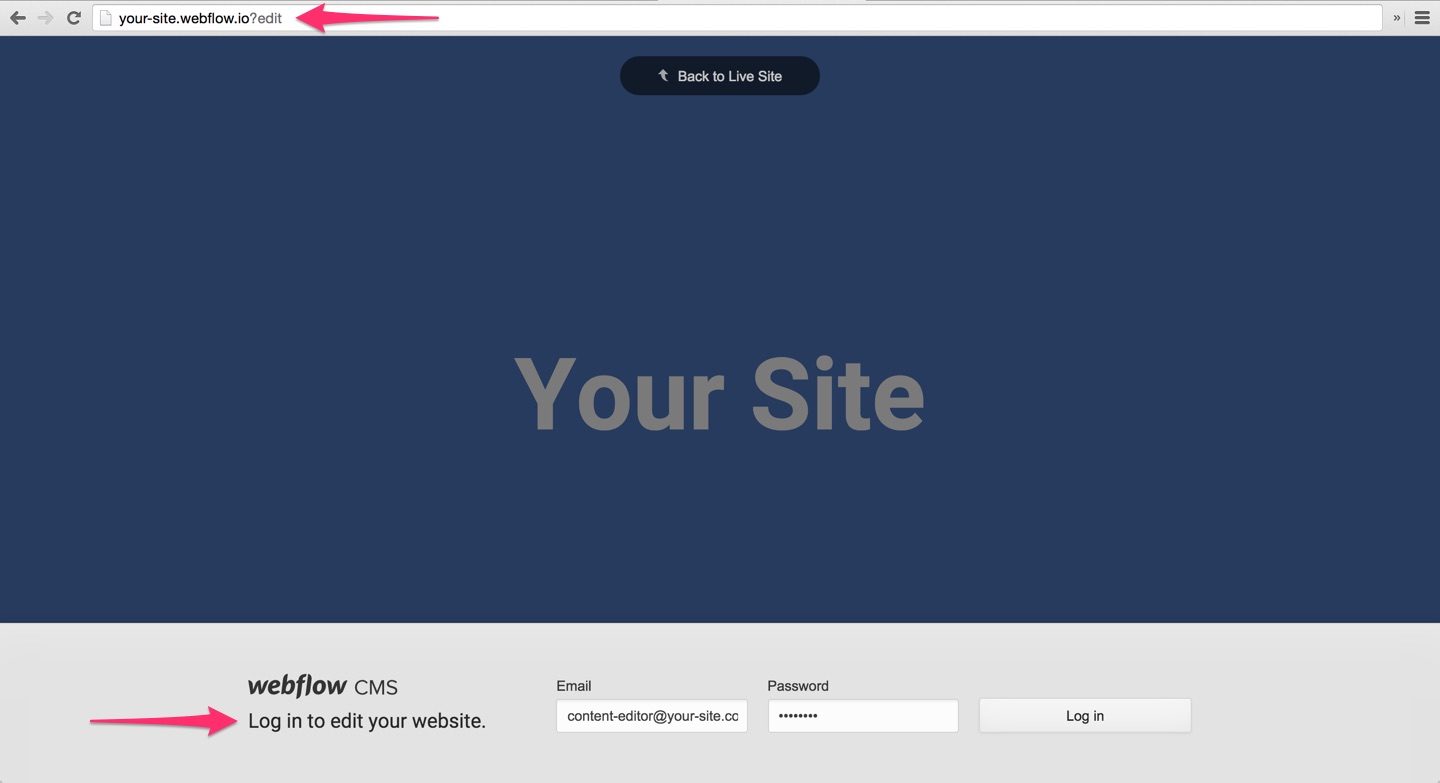
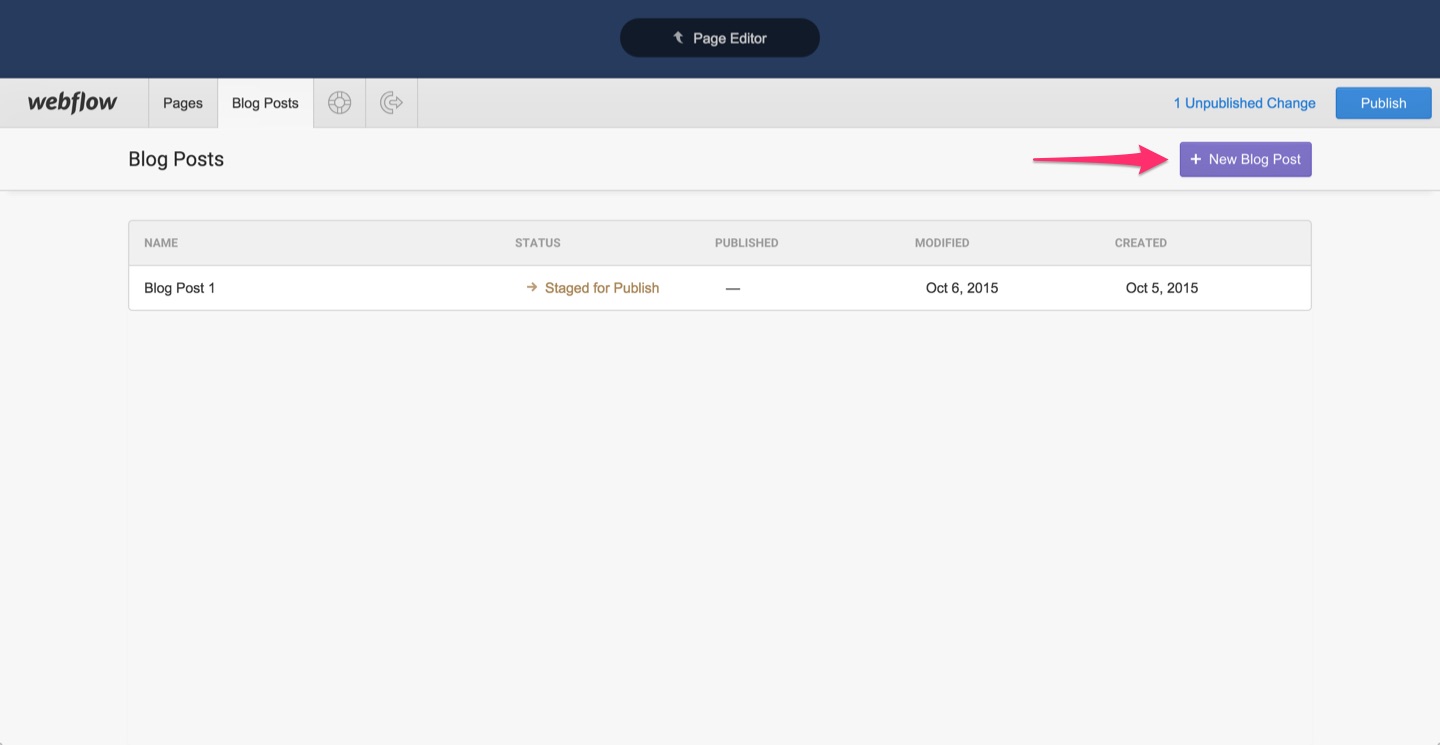
Open the Editor Panel by clicking one of the tabs.

Click New Item, add your content, and click Create Item.

Oops! Something went wrong while submitting the form
Oops! Something went wrong while submitting the form
No related videos.


No items found.
